Ink Packet Storage Rack
I know that it seems funny to let myself go on a tangent like this right now, but there’s a skill that I want to brush up on. When I’ve got a booth full of prints, I’ll need displays to show them off and allow customers to browse through them. I plan to design and build some gorgeous displays myself if I can remember how to run the design and carving programs that I use for that kind of 3D design.
So, here’s the problem I’m going to solve in this test… When I get into a printing groove I mix up custom colors of ink. If there’s some left on the slab, I wrap it in wax paper and save it for later. The problem is that I now have enough little packets that I don’t remember what is there. For the dark colors, it’s tough to tell what it is without at least partially unwrapping the packet. This takes time and lets in a little air to harden the ink. It’ll be more efficient and the ink will last longer if I don’t have to do that.
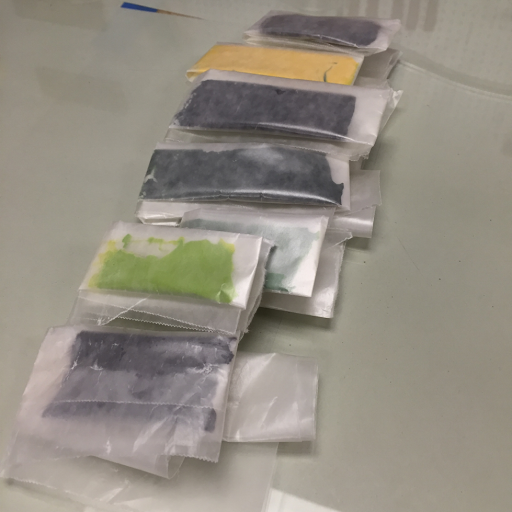
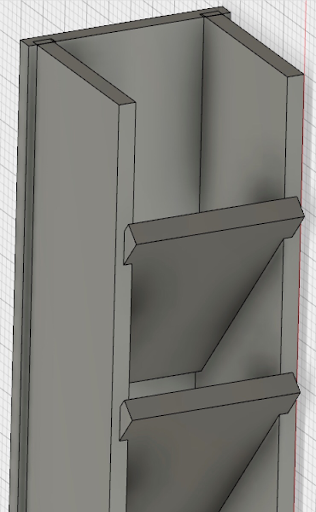
So I decided that I wanter a tall, skinny rack with 12 slots for the major points on the color wheel.
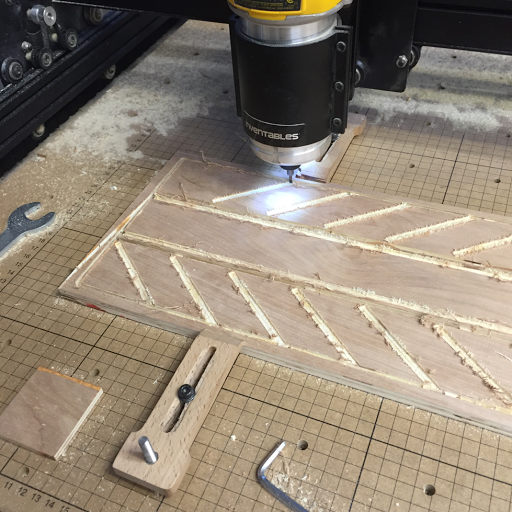
After designing it, I laid it out for carving and set the robot carver to work.
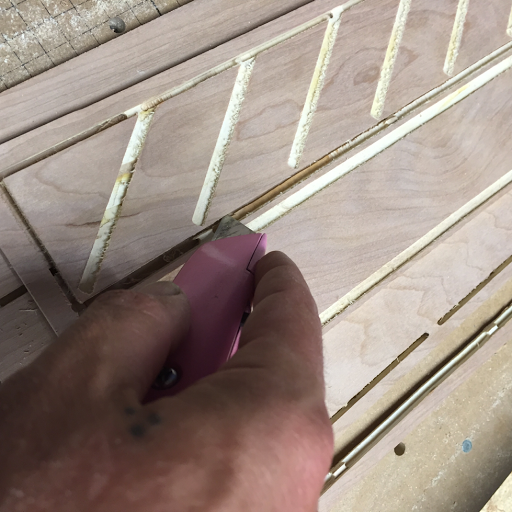
In order for the robot to carve, the pieces have to stay held in place with little “tabs” that I leave in between the otherwise free-floating parts. I have to cut through them with a box cutter to free the parts.
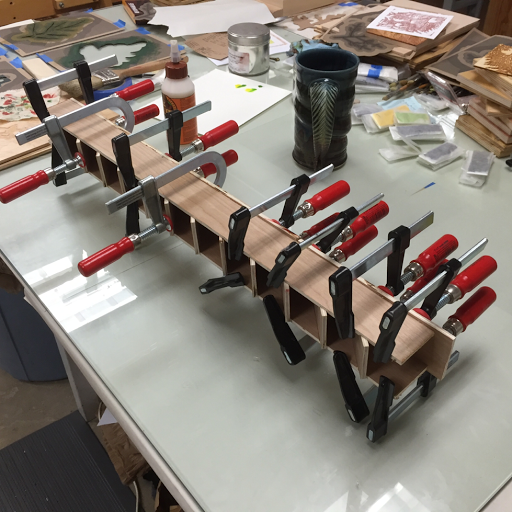
Then I smeared on some glue and clamped it up.
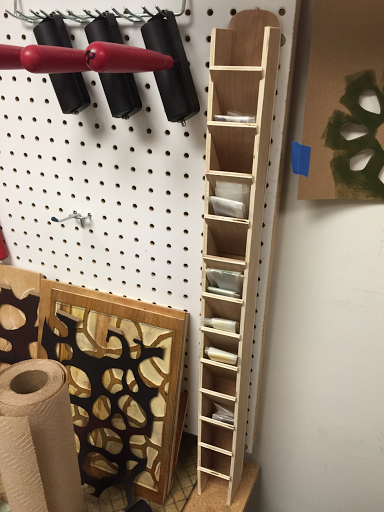
After a little sanding, it’s done and standing in the corner doing its job. Now I can tell what hues of ink I have left over when I need to mix a new color. And, more importantly, I got a refresher on how to plan and design a piece of display hardware in the 3D design and CNC carving programs. Now I can let the design requirements for print displays to percolate in my subconscious while I continue with my printmaking education.
Sorry, the comment form is closed at this time.