(For this post, I’ll keep chronicling the things I try until, one fine day, I have a solution.)
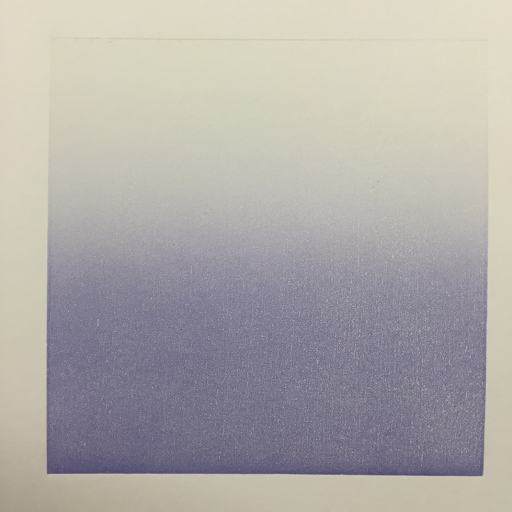
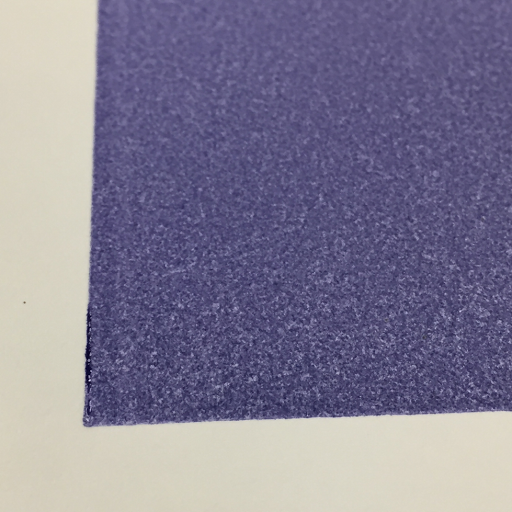
It’s really quite clear to me that I’m still a beginner, even after four months of trial-and-error experience. Today I’m wrestling with getting good ink coverage from very transparent inks. Here’s a distance shot to show you what I’m going for – very transparent ink.
[Transparent ink]
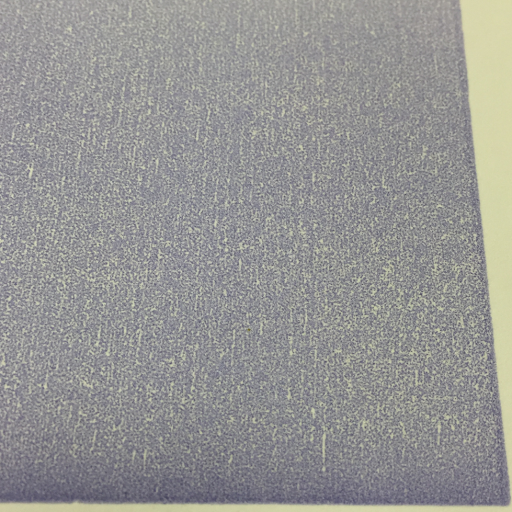
When you get up close you can see the problem. There are lots of little gaps in the ink. This is usually the case for my first impression with a dry plate. After going through the press, though, the plate has accepted the ink everywhere and prints well. Not this time. It’s a little tough to see, but the ink is standing up and creating an effect like mezzotint dots. It’s consistent, but not what I’m going for.
[Tiny dots of ink]
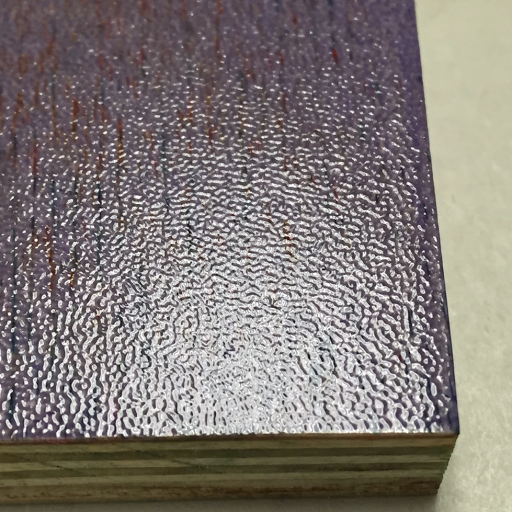
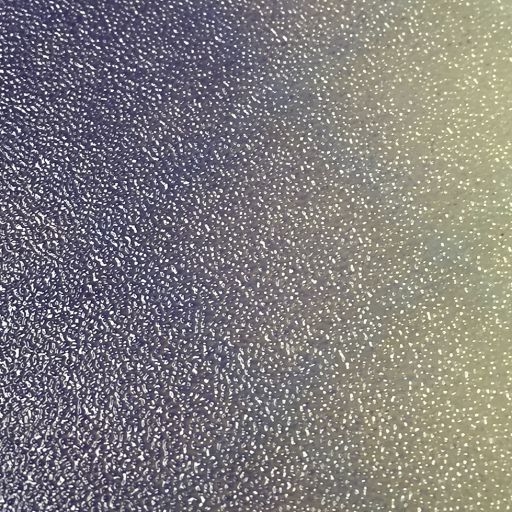
I decided to ink a little heavier, still building up one very thin layer at a time. The problem became apparent when I looked at the plate from an angle.
[Orange peel ink texture]
Looking straight on, you can see the problem that uneven ink distribution is causing – uneven pigment distribution.
[Uneven pigment distribution]
And the result is quite predictable – uneven pigment distribution onto the paper. Even with heavy inking, it never smooths out and becomes an even film of ink.
[Uneven print]
The problem doesn’t start with the plate, though. It begins with the ink on the slab. Then it’s transferred to the brayer, and finally to the print.
[The problem begins on the slab]
I beat my head against this problem for a few hours on the first day. I ruled out the brayer by testing three different hardnesses and materials. I cleaned the ink slab a few times with different methods to rule out contamination by soap, oil or solvent.
I tried adding plate oil (burnt plate oil #2) in an attempt to improve the flow of the ink.
Then I hung it up for the night, taking to the internet for solutions. It seems that there are a few things to try tomorrow:
Plate Oil #000
Tack Reducer
Vaseline
Odorless mineral spirits, after making sure they won’t harm the brayer.
A stretch… Make transparent base from only chalk and plate oil.
Day 2:
I tried all of the options that I had identified yesterday, cleaning everything carefully between each experiment. They all ended in exactly the same results, except the vaseline. I added more and more until, finally, the paper just slipped off the plate instead of advancing the press. While not ideal, it was certainly the most “interesting” result. Everything else ended exactly the same way, with some variation of orange peel texture and uneven printing.
If I’m going to solve this problem, there’s nothing left to do but scour the internet for more options. Maybe if I look for candid shots of the studios of artists using transparent color techniques, I can glean some vital clue as to how they’re doing it…
Day 3:
Lots of googling and photo studying later, it seems like the folks who are using transparency in the way I want to are thinning their ink to a very runny consistency and inking lightly. I mean, yeah, it kind of makes sense. Dense, thick ink is used to make dense, thick color, which is usually the goal.
(Tried it, failed.)
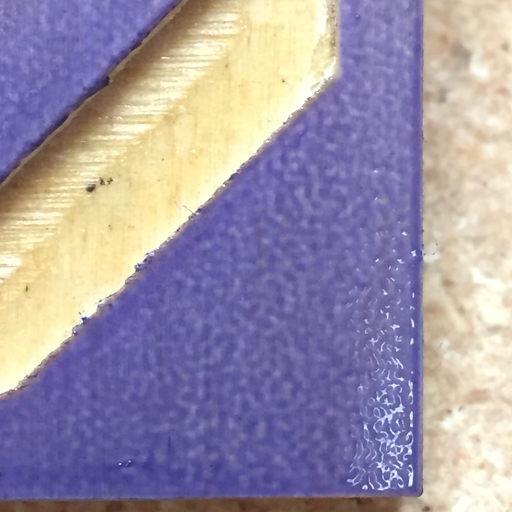
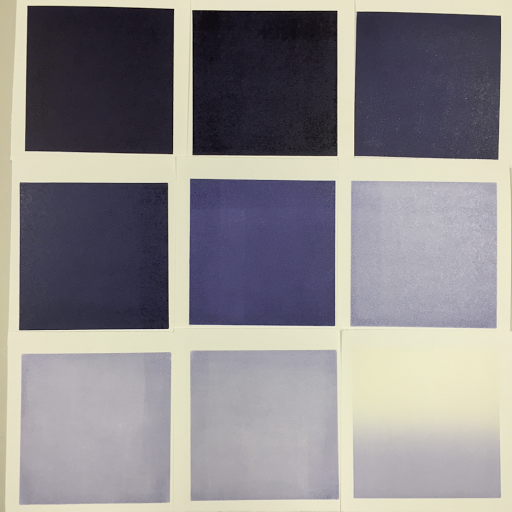
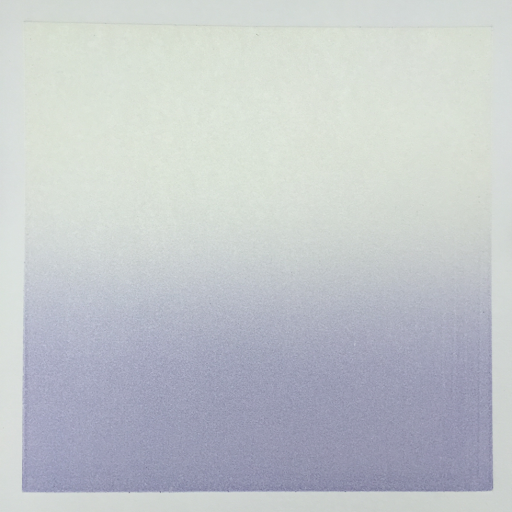
Ta-Dah! I finally found the answer. I started with an ink that I know to cover well, the custom purple that I blended from Graphic Chemical etching inks with no modifiers. Then I added a little bit of transparent etching base at a time. At a certain point I noticed that the ink felt loose and started covering poorly. A-ha! It’s too loose! I know the solution to this – magnesium carbonate. I mixed it in until the ink felt like it had when it was printing well. And just like magic, it started behaving just like I wanted it to, laying down a thin, but perfectly even layer of ink. For the last three tests, I was just perfecting the consistency and rolling out the thinnest layer possible. You’ll notice that there are inking inconsistencies which become more and more visible as the transparency increases. I got tired of cleaning the large brayer every 10 minutes all day so I switched to a small one that can’t cover the plate. For even coverage in real prints, I’ll use the right brayer.
[mixing mag]
[from known ink to high transparency]
I’m very happy with these results. For the rest of the day, I’ll finally get to print the smooth gradients that I wanted to do a few days ago. Lesson learned!

Sorry, the comment form is closed at this time.