New Paper Size
Do you ever wonder why service companies charge a “setup charge” when you ask them to do something that they haven’t done before? Here’s a little insight into the tasks associated with something as simple as changing paper size.
So, I decided last week that I would start designing medium-sized print pieces that are meant to be economically framed. The standard size that I chose is 8×10 since there are many, many frames, mattes, and cellophane sleeves available at that size. Now, I need to decide how large I can make a plate to print within that size. Remember that with the carving technology that I’m using, the larger the plate, the more detail I can have in the image. But I don’t want it so large that the borders look skimpy.


[Flat design]
I oriented the paper upside down in order to let me snug the paper against the jig edge that’s closer to the press rollers while letting me use the extra 2″ below the plate to keep the paper up and away from the inky plate. I’ll lay it down and contact the plate when I’m sure it’s exactly in place.
After designing the placement, I had to tell the computer what depths to carve, and fiddle some other parameters about cutting tool size, router rotation speed, cutting depth per pass, linear motion speed, etc. It did all the heavy lifting, gave me an onscreen visualization, and spit out the instructions for the router.
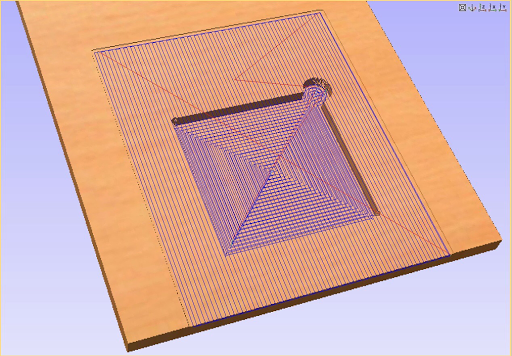
[Simulated carving]
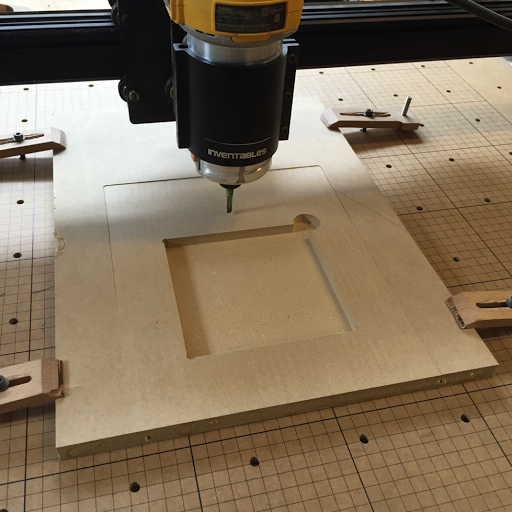
[Carving on the router bed]
I prepared the wood, carved the pattern, shellacked it, labelled it, and then, finally, I’m ready to use my new jig to print. In total, it took me about 2 hours. This is why I will need to ask for setup charges on work that uses different sizes than what I’ve done in the past.
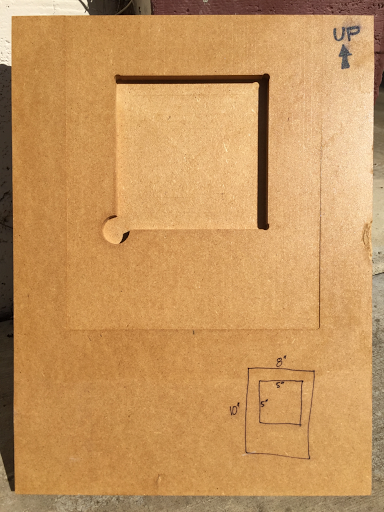
[Finished jig]
Sorry, the comment form is closed at this time.