March 24, 2016
In
Uncategorized
Private Printmaking Lesson
This last weekend I took an intaglio class at the Whiteaker Printmaker’s Studio. I sort of knew that intaglio was not for me even before I learned it, but you’ve gotta try it to know, right?
As long as I was paying for a trip to Eugene, I decided to make it even more worthwhile by scheduling a private lesson with Heather, one of the founders of the studio. I wanted to walk through all of the skills and techniques that I’d need to use in pulling my first edition, the lunar calendars I’m printing to help pay for a big trip to study with a specialist teacher. (I’ll talk more about that when I know more.)
We walked through the specifics of tearing down paper for an edition, and then went right to the ink. I threw a curveball by wanting to use the wrong type of ink. That this is the wrong type of ink was news to me, and shows just why I needed this lesson. Since my ink was way too runny and “long”, Heather walked me through modifying it with magnesium carbonate, teaching me just how it should act when I’m drawing it out and pulling it up to check for length.
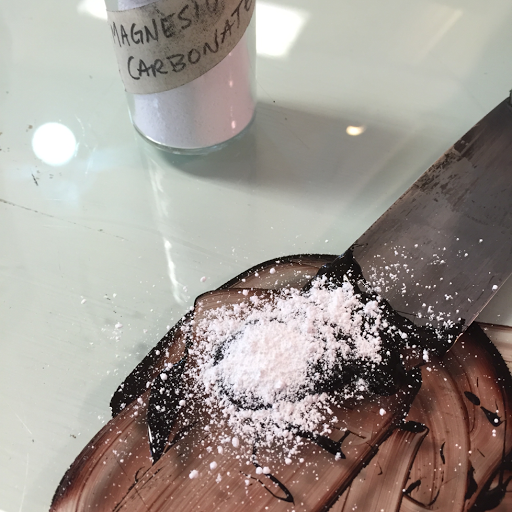
[Magnesium carbonate]
Once I got the ink to roll out correctly, it was time to ink the plate. I built a bench hook to use in my studio and have found it a little problematic. Heather suggested a nonslip mat so that I can roll in all directions. It’s perfect!
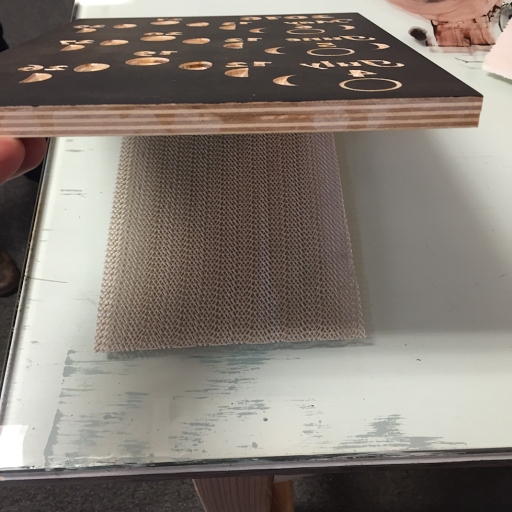
[Nonslip mat]
Then it came time for registration. The studio has a simple jig with a 7/8″ border between the paper and the block. It’s not perfect. My edition will have a 1″ border so I’ll need to build my own jig, but it worked well enough to teach me how to use it. The block snugs into the corner. The paper snugs into the upper corner formed by the matte board, being careful to keep it off the plate until it’s in position. Then, I drop the paper onto the plate and use one hand to hold it while the other hand removes the jig and puts the blankets down. It’s simple and very accurate!
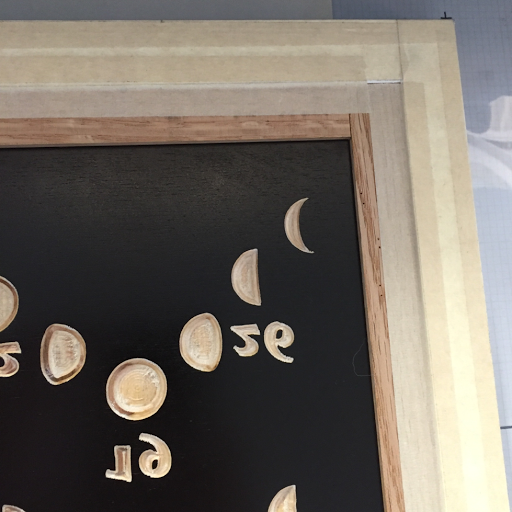
[Registration jig]
Here’s a snapshot of the beautiful glass-topped work table at the studio. It’s an ideal work surface.
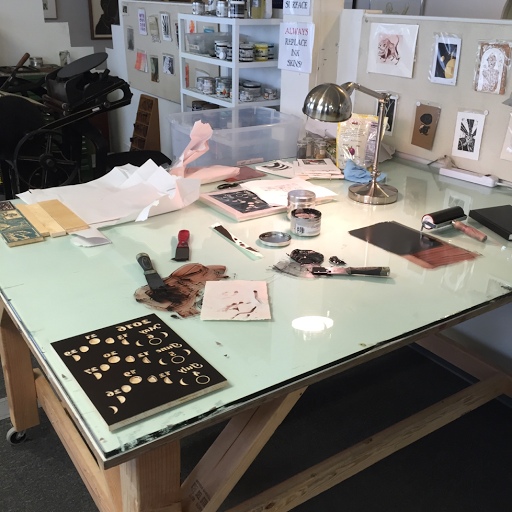
[Work space]
For today’s work, we were using the Ettan etching press. Again, it’s just a beautiful piece of equipment. So smooth, accurate, and easy to control.
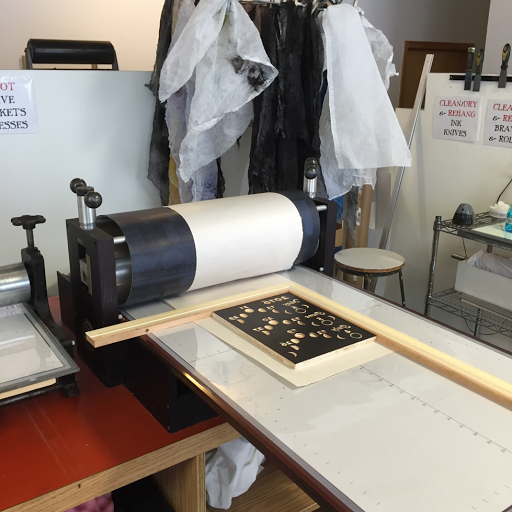
[Jig on press for paper registration]
We pulled four prints, adjusting the inking, the blankets and the pressure until I got just the effect that I was going for. Since this project uses only one block with bold graphics, I decided that I want a little embossing even though it isn’t traditional for woodblock prints. Just as we pulled the last test the sun came out, allowing me to take this dramatic photo of the gorgeous chocolate-colored ink and the delicate embossing.
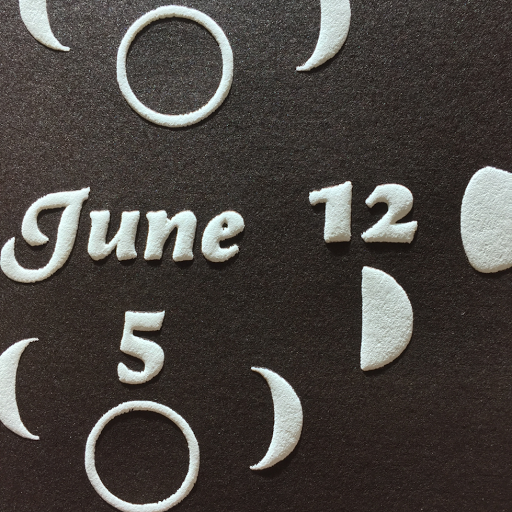
[Raking sunlight on an embossed print]
After this, she talked me through it as I reset the press and cleaned everything to her specifications. Everyone who uses the space seems to be extremely considerate of the others. Printmaking is messy business, but when folks are done, they reset the space to such an immaculate state you’d almost never know what kinds of messes have been made there.
Heather was a patient and amazing teacher, making sure that I not only understood how to do things, but exactly why I needed to do them. As I suspected, there were big pieces of the process that I had forgotten or never really learned when they were taught to me in the past. In just a few hours, Heather raised my skill and confidence level far enough that I’m going to go home and commit myself to pulling 50 prints of the largest plate that I’ve ever carved. My time with her was so precious that I didn’t stop to take notes during our session, but I did spend over an hour writing everything down afterward. I really want to remember the awesome skills that she shared.
If you’re in the Eugene area and could use access to a fantastic printmaking facility or a refresher on printmaking skills, give the Whiteaker Printmakers a try! I think they’re still accepting new members.
Sorry, the comment form is closed at this time.