January 20, 2016
In
Uncategorized
More Experimentation: Transparency
So, I still feel like I have a lot of basics to cover before I’m ready to really start designing and producing artwork that’s even sort of under my control. Since there is a lot of drying time required for each layer of these tests, I’ve begun the next experiment before the first one is finished.
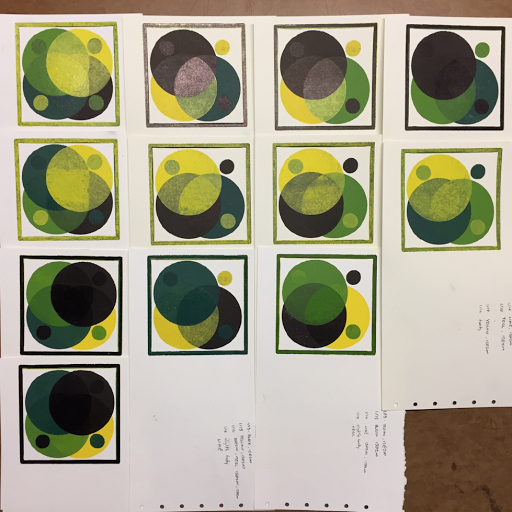
In this last experiment, I was testing to see if drying the ink between layers gave me better and more reliable opacity. It did. I was also testing to see how light colors cover dark ones and vice versa. Darker colors at full opacity obliterate lighter ones. Lighter colors retain some transparency and blend a little bit with darker layers below them.

[Opacity tests]
The one that blended with the best range of resulting colors was the one that went from darkest to lightest. It’s in the upper left of the previous photo.
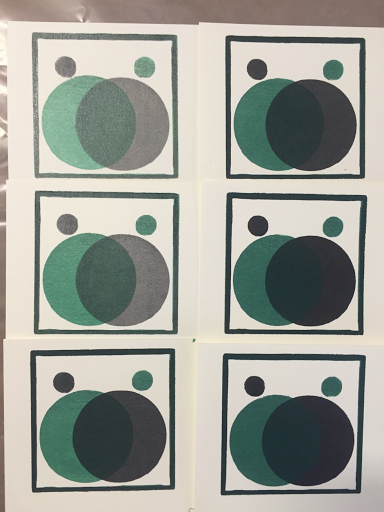
In the next experiment, I’ll be replicating that layer order from the previous test, but varying the transparency. Each layer series starts with pure transparent tint base. I add a little pigment before each print until the ink is pretty opaque.
[Transparency test]
This test should only take 4 or 5 days depending on how quickly the inks with transparent base dry.
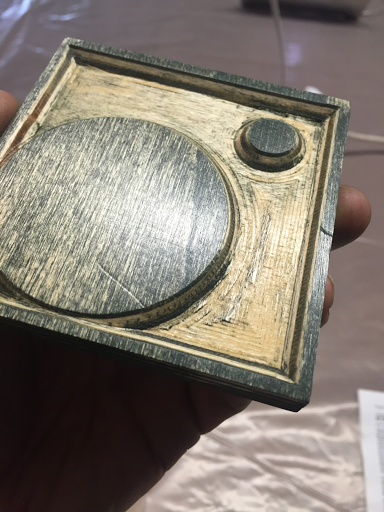
[Plate with two big gouges]
I learned a big lesson at the end of the day today. Pay attention to everything! I wipe my plates on newspaper before wiping them down with rags to clean them at the end of the day. Well, this newspaper had sat on a lower shelf and had apparently gotten a piece of gravel kicked into it. When I placed the plate face down and rubbed I heard a sickening crunch. This tiny piece of gravel ruined this plate. So, tonight after work I’ll be carving a new one. It’s too bad, too, because I am currently designing a new “spot test” plate and was about to retire this one. Ah, well! Live and learn.
Sorry, the comment form is closed at this time.